I'm stuck at home today, with all previous plans cancelled because of a last minute work related issue, which required someone else have my vehicle today. So, I turned on the tunes (Eric Church is on right now) and decided to make the best of it!

The lovely thing about having laying hens is that when they get going, we have lots and lots of eggs. Since they were starting to build up, I used the most delicious egg recipe that I have, which also uses tons of eggs. Angel Food Cake! It uses a dozen eggs, is easily made gluten free, is full of protein and low in fat. It uses few ingredients and is easy to make. This one is lemon flavoured to go with a lovely tub of ripe strawberries that were on sale yesterday. I don't normally like to purchase out of season, imported strawberries, but sometimes they are actually ripe and the smell is so alluring! The recipe is also super easy and because I found it on sale this fall, I finally have a real tube pan, which I purchased for $3 brand new, when I stumbled onto a 50% off of a 50% off the already reduced price sale.
Angel Food Cake
12 egg whites
1 1/4 cup flour (I used 3/4 cup brown rice flour and 1/2 cup all purpose gluten free mix)
pinch salt
1 tsp cream of tarter
1 1/2 cup sugar - run through a food processor to make it a finer grade
1 tsp lemon extract
It's important to remember is that the mixing bowl must be really, really clean and grease free or the whites won't whip up. Also, when separating the egg whites, it's best to break each one into a small dish to make sure that not a trace of yolk gets into the white. When you're sure, toss it into the big mixing bowl. That way you only risk one egg being ruined, instead of the 11 that are already in the bowl when the errant bit of yolk slips in.
Start mixing the egg whites until they get a bit frothy, then add the cream of tarter, pinch of salt, lemon extract and 3/4 cup of sugar. Turn up the speed on the mixer and whip until they are at stiff peaks.
Blend the flour and remaining sugar together, and add to the whites in several additions, folding gently and making sure that each bit of flour is incorporated before the next addition.
Pour into an ungreased tube pan. Run a knife through the cake batter to make sure that there are no huge air bubbles. ( If you don't have a tube pan, you can bake this in a 9 x 13 pan just as easily.)
Bake at 350° F, in a pre-heated oven for about 45 - 50 minutes.
When you remove it cake from the oven, let it cool upside down. My pan has little legs for this, but balancing the pan upside down on some saucers or glasses will work just as well. The idea is to keep the cake from flattening as it cools. Keep it upside down until completely cold. Run a knife or narrow spatula around the outside edges of the cake and pop it onto a plate! Super easy and super delicious and pretty much guilt free -
What do you do with the leftover yolks? I feed mine to the beasties, but they'll freeze well, with the addition of 1/4 tsp salt for every 1/4 cup of yolks.
 Really, that is what we were doing! I've seen a bald eagle hunting over the nearby Thames river. It's been seen there by several people. Then, a few days ago, one flew over our home, low enough that it was easily identified. It was a very majestic sight. The next day, my sweetie saw one in a nearby field.
 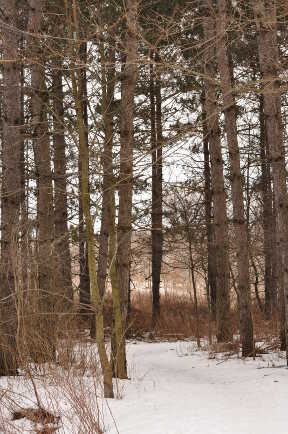 On Sunday, despite feeling somewhat under the weather, we donned some warm clothes, packed up the camera and headed out to a walking trail which is near the spot in the river where there were previous eagle sightings. I took only one lens so I didn't have to haul all sorts of weight around. The trail was obviously icy and the thought of slipping and landing on a camera case full of lenses wasn't really appealing.
  It was grey. It was grey and cool. Once again the forecast sun or high temperatures failed to appear. However, it also meant the trail was virtually empty. I much prefer
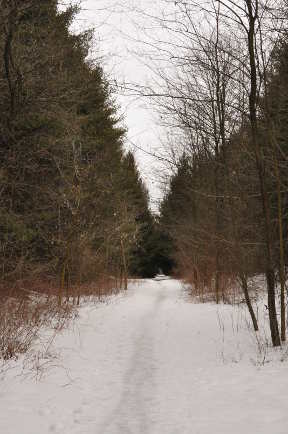


